

Chapter 5.5: Lighting (Bonus)
Hey everyone. It’s been a bit busy for me this week, but I didn’t want to leave you guys hanging so I’m adding a short two-page bonus lesson on how you should set up a basic scene for lighting.
Check out Other Chapters:
Chapter 1: Getting Started with Blender: Introduction
Chapter 2: Things to Avoid When Starting Out
Chapter 3: 3D Blender Step-By-Step Tutorial: How to Create a Simple Vase in Blender?
Chapter 4: Understanding Spline Modeling in Blender
Chapter 5: How to Add Lighting in Blender Part 1?
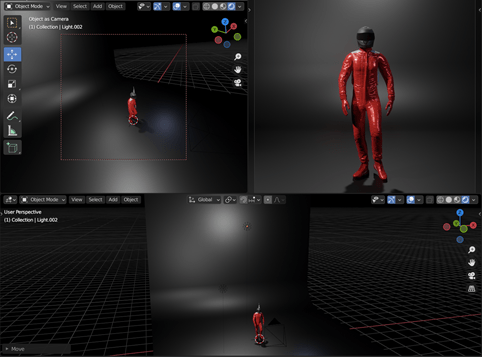
In short, we’re going to be learning about 3-point lighting, and assuming that you didn’t know about this already, three-point lighting is the standard lighting setup used for most film sequences and includes:
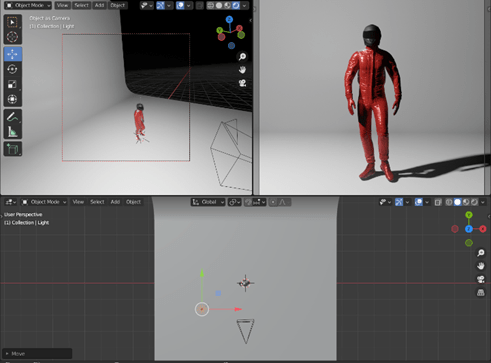
1. Key Light:
This is the main light that shines upon the focal point in a scene, whether it be an object or a character. It is the light that highlights the scene surrounding a character or an object in order to make it stand out and become the focus of a scene. Normally, you do NOT want to implement a key light facing directly at an object, because that would rid the object of all its shadows and take away the emotion from a scene. Lighting and contrast are meant to tell a story.
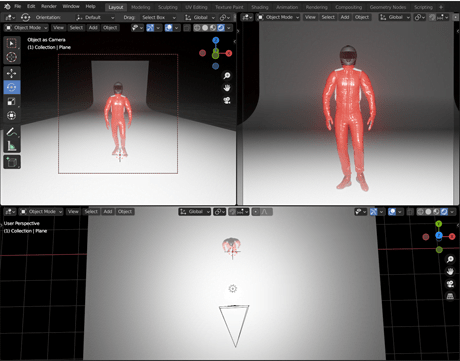
2. Fill light:
This is a lighting whose purpose is to reduce the stark contrast you would get from shadows in order to portray a more natural-looking shot of an object or person (unless you are going for something extremely stylistic). It is a good tool for simulating bounce lighting (AKA lighting that reflects off walls) and helps make things look a little more realistically grounded, without taking away from the key light. Fill lights are usually placed lower than key lights, to the opposite direction of the key light, and are not as bright as key lighting is.
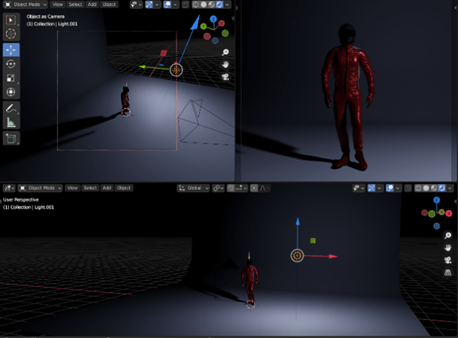
3. Rim light/backlight:
This is essentially silhouette lighting which highlights the shape of the character/object and is usually placed behind and above the character/object. Its purpose is to use the lighting to create a thin outline of the character and emphasize the contours of the character/object. (For the below example I used a darker background to emphasize the rim light’s effect).
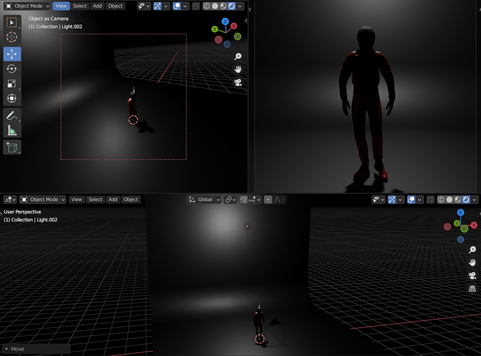
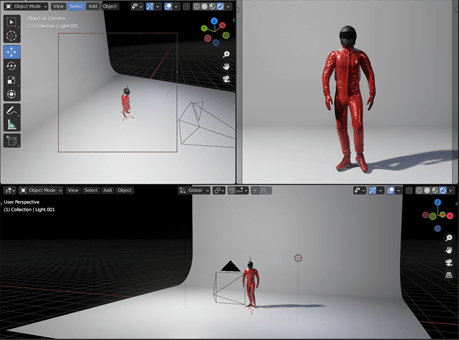
Lastly, if you want to set your scene prior to adding your lights, you might want to look into creating an infinity room/background or a beveled plane. These will help create the illusion of an infinite room and help you set up the backdrop for your object prior to adding lighting, such as the one used in the last photo above.
If you want to get good at Blender, Consider Taking the course below:
Blender Guru is good at explaining how to set up this beveled plane:
Infinity background using gradient nodes:
Infinity background using objects:
Good luck everyone!